HUBBLE FLY-THROUGH SEQUENCE:
SCIENCE & ARTISTRY MEET IN ANIMATION
SCIENCE & ARTISTRY MEET IN ANIMATION
Written by Jason Harwell - Co-Producer
Hi gang, I'm Jason, Co-Producer, Segment Producer & team lead for the Hubble Telescope images fly-through sequence.
This immersive segment was a very fascinating part of the film to work on. It was often tedious, but that was helped by having absolutely stunning content to work on!
Starting as a volunteer image processor doing many of these by myself, I worked my up to segment producer by working through the initial tech issues, developing a production pipeline, and ultimately coordinating a talented team who brought many of their own techniques to bear, to get several dozen of these ready for director Stephen Van Vuuren to choose his shots.
Before being able to fly the viewer "through" the scenery, the images had to be prepared for that type of camerawork.
This involved separating the foregrounds, mid-grounds, backgrounds, and primary features into individual digital plates (Photoshop layers), just as one would with physical plates in traditional animation.
Here's a simplified explanation of what our team had to do, and how:
1. For maximum clarity, resolution & image control, some of our images were pulled from almost-raw Hubble data (known as FITS files) which had to have each color channel rendered and composited into a full-color image by talented imaging experts like image processor Judy Schmidt.
Science and artistry meet here in that the image processor must make aesthetic decisions such as brightness, contrast and color intensity, which can enhance or subdue different physical features of the subject, just as a real photographer does when taking pictures with a film camera.
Science and artistry meet here in that the image processor must make aesthetic decisions such as brightness, contrast and color intensity, which can enhance or subdue different physical features of the subject, just as a real photographer does when taking pictures with a film camera.
Here’s a great video from Hubblesite.org showing you a time lapse of exactly what that process looks like: https://www.youtube.com/watch?v=p5c1XoL1KFs
The goal of our image processors was to approximate as best as possible the most natural image that your real human eye would see, were you actually present at the camera's point in space, or looking through a real physical (and incredibly powerful) telescope eyepiece.
This sometimes meant subduing many of the heavily-saturated colors and intense contrasts used in publicized space imagery, to achieve a more natural sense of realism.
For more info on how a full-color image is created from nearly-raw telescope data, or to create them yourself & contribute to the scientific community's catalog of viewable space images, click here!
http://hubblesite.org/get_involved/hubble_image_processors/
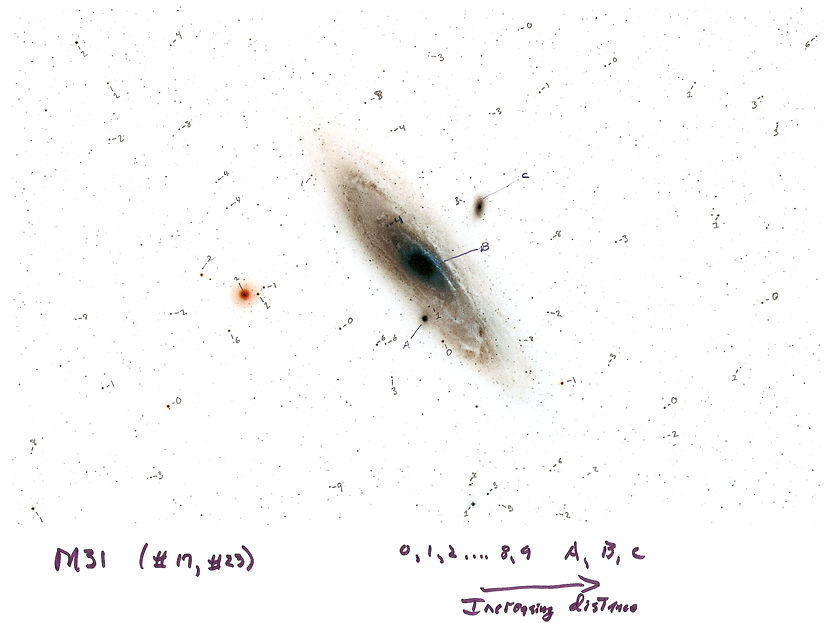
2. To ensure as much scientific accuracy as possible, a team led by Dr. Steve Danford (Astronomer & Professor at the University of North Carolina, Greensboro) analyzed each image using available distance data for known objects (such as stars, globular clusters, & galaxies).
Dr. Danford inverted the original image (creating a digital photo-negative) and labeled the main objects according to that data, by what's called their Z-index (rank of object in order of closest to farthest from the camera plane). Creating the negative just made things easier to label and read.
Dr. Danford inverted the original image (creating a digital photo-negative) and labeled the main objects according to that data, by what's called their Z-index (rank of object in order of closest to farthest from the camera plane). Creating the negative just made things easier to label and read.
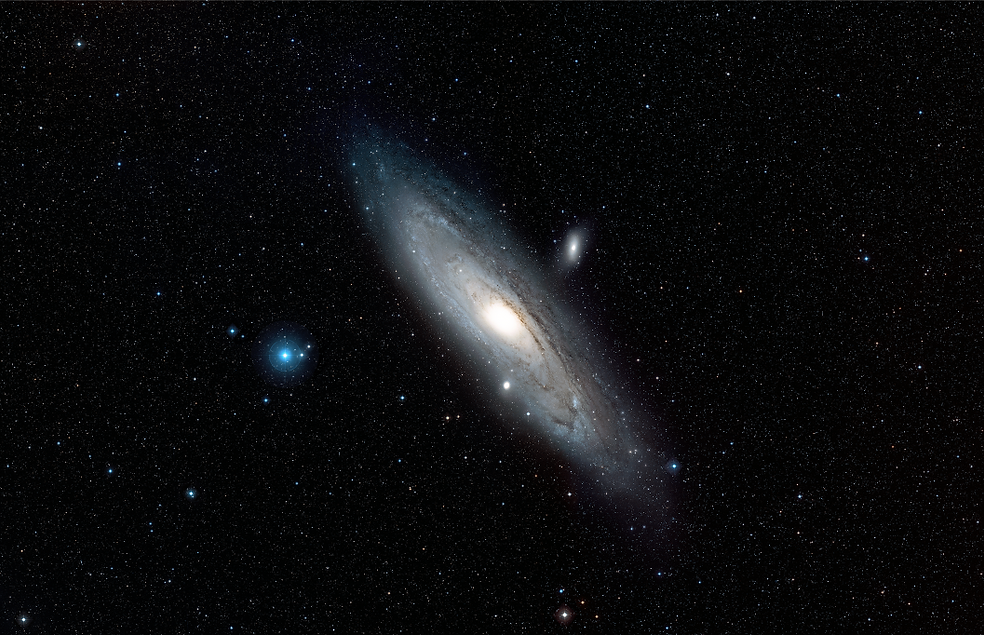
Here's an example of Dr. Danford's analysis, using an image of the Andromeda Galaxy (M31):
We then used that info to determine which objects should be extracted to which distance plates for the camerawork.
3. Then came the work of actually separating them into the plates! Most of the hard work in that involved hand-removing each target star one at a time from the source image, and painting it out of the background.
For readers familiar with Photoshop, that meant heavy use of the Clone Stamp Tool, among other digital masking and painting techniques.
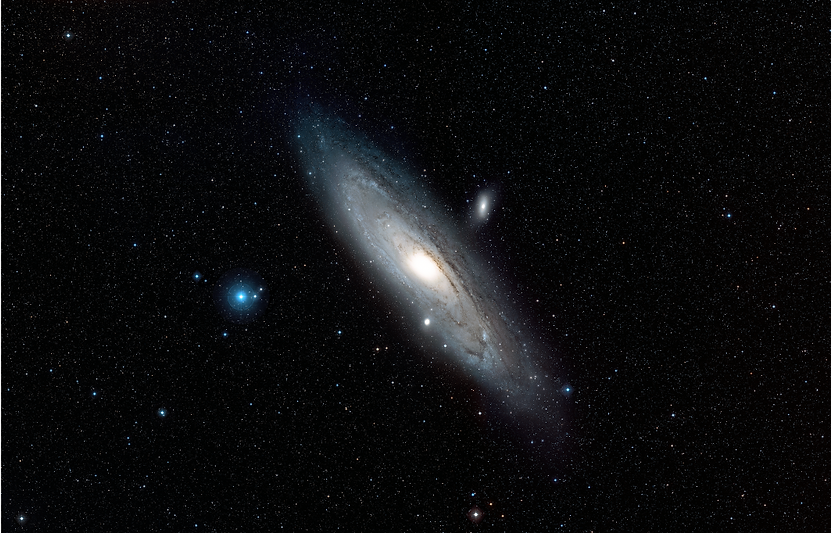
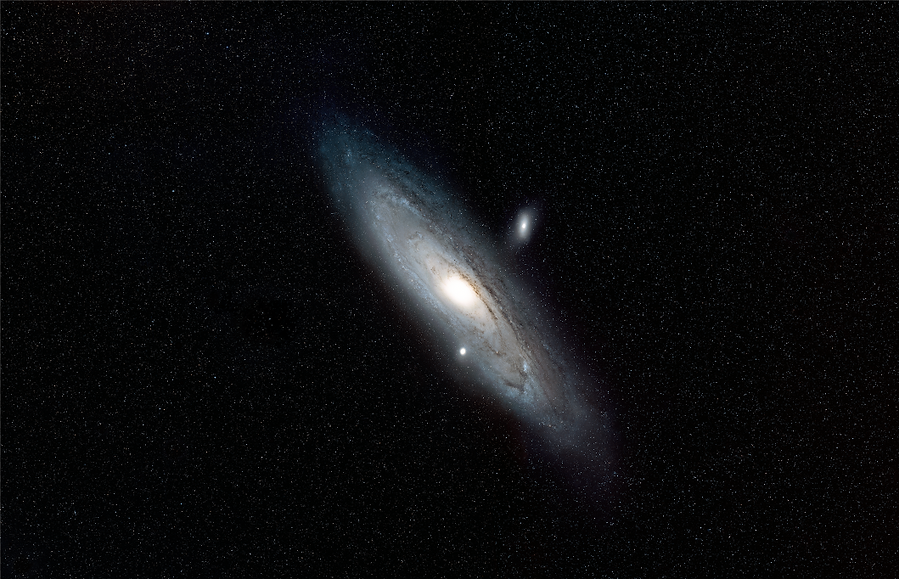
Using our M31 example, here's the original source image from Hubble (courtesy NASA/ESA):
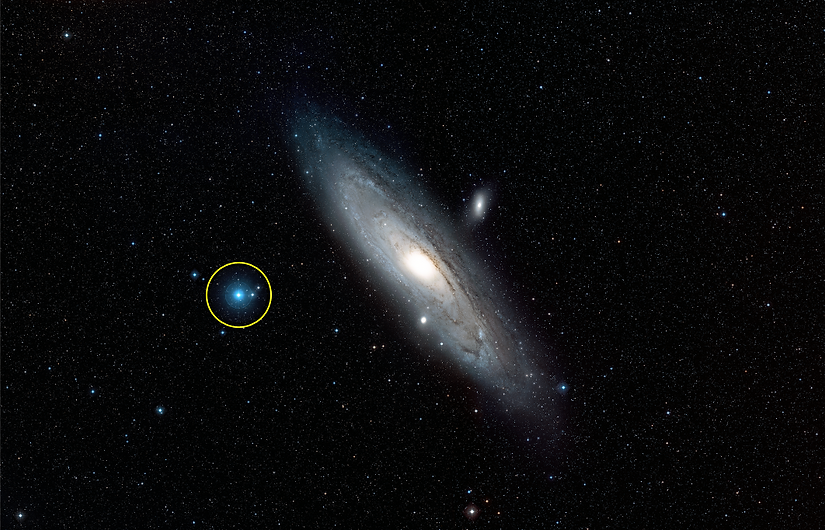
The extraction process was often tricky! Especially due to the fact that since the Hubble telescope is orbiting earth, all of the stars you see are in our own Milky Way Galaxy, far closer than the featured image object.
So here's an example of how we handled that:
So here's an example of how we handled that:
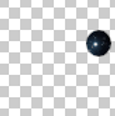
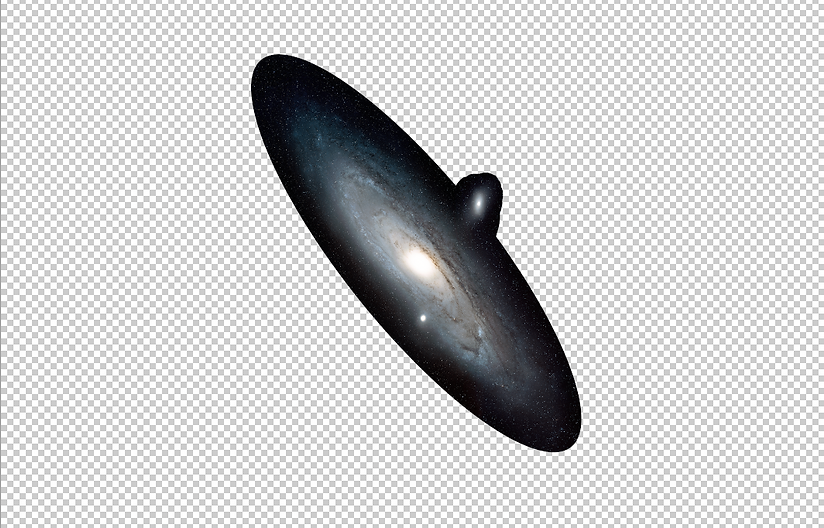
Objects targeted for extraction (in this case, stars) are selected with a pixel selection tool:
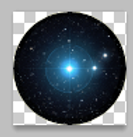
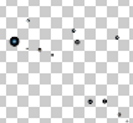
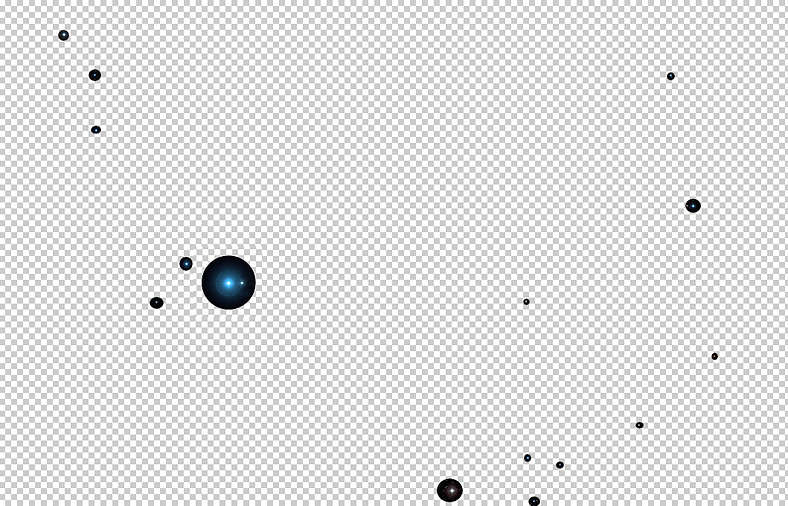
Target stars and adjacent pixels (their light halo & other stars in frame) are then copied/pasted to the correct distance plate:
Adjacent stars that don't belong at same distance as target stars are copied to their own proper distance plates using the same method:
MID
FARTHER
BACKGROUND STARS
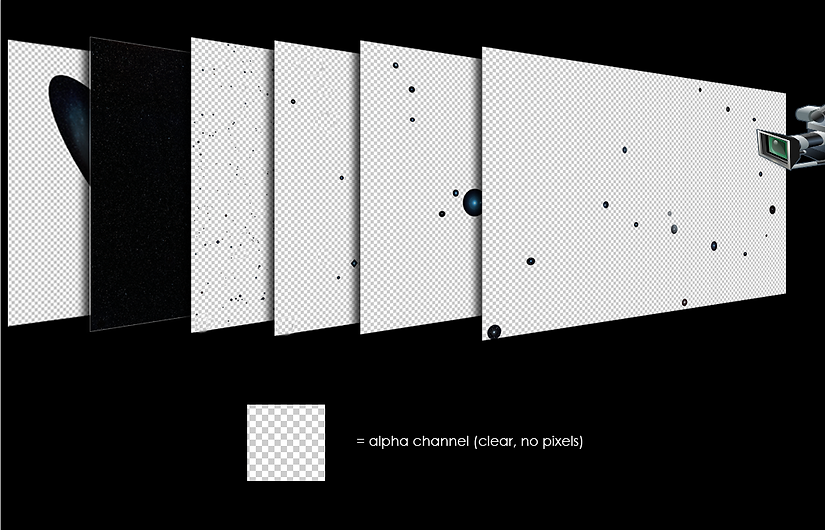
Repeating this many, many times, the result is each finished plate with the objects extracted by distance from camera plane:
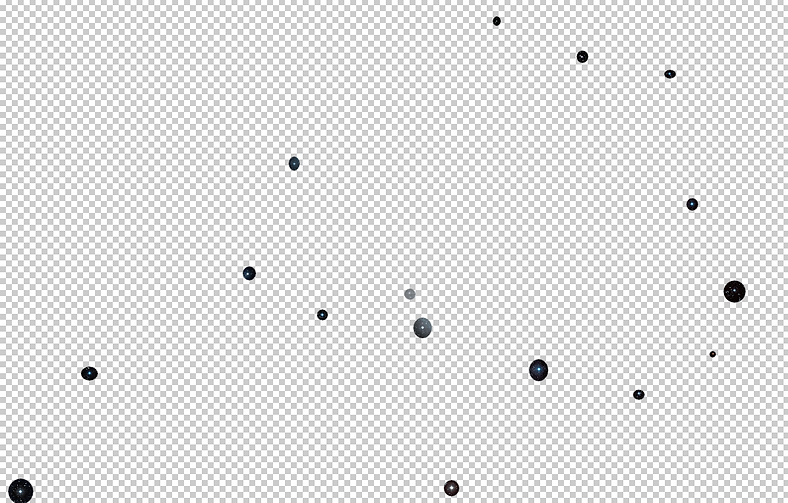
NEAREST
MID
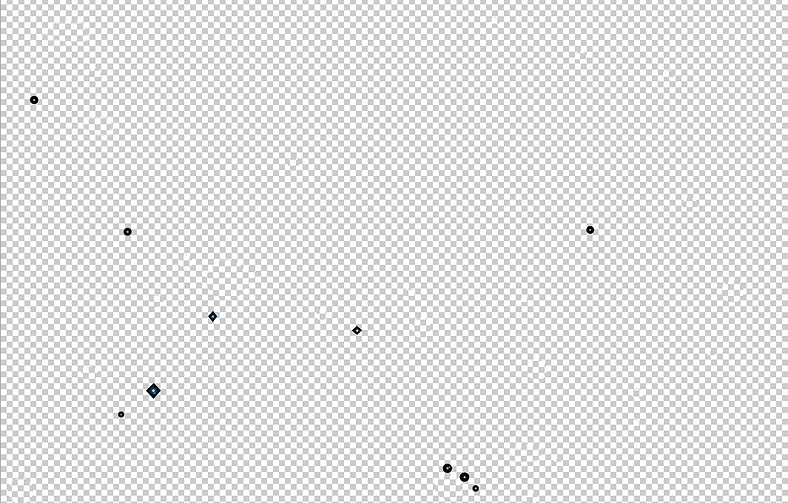
MID-FAR
FAR
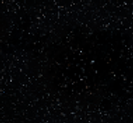
FARTHER (intra-galactic star field and distant galaxies, etc.)
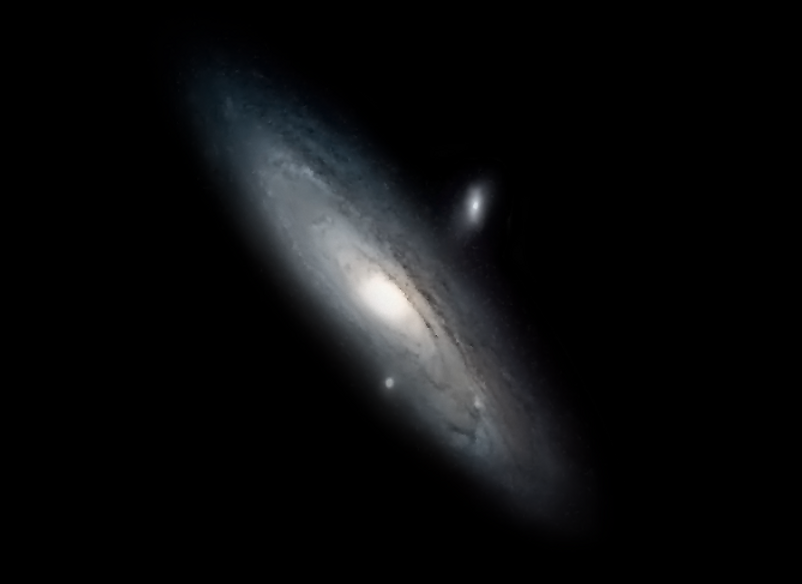
FEATURE OBJECT (M31, with neighboring galaxies M32 & M110)
Note intentional overlap between intra-galactic starfield and galactic halo.
This was handled by the director in-camera, by gradually softening the edge to transparent (feathering), to allow motion without revealing the image extraction seams:
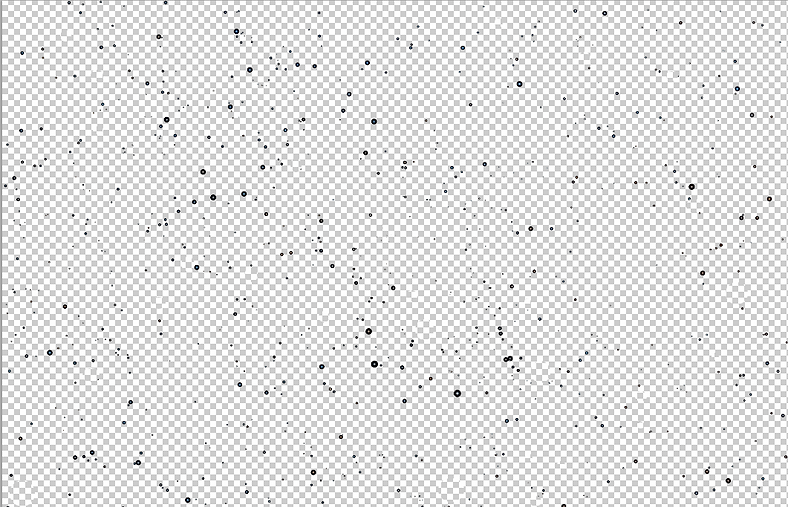
Star plates shown together, with main feature galaxy painted out:
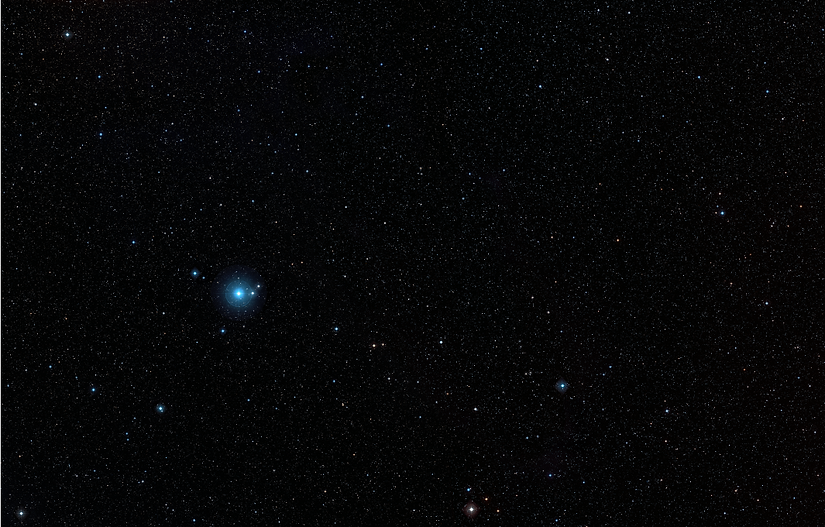
M31 behind Milky Way galactic background starfield:
The plates were then off to the animation department for camerawork!
They could now be animated independently of one another to achieve depth & parallax for the sensation of a fly-through (animating towards/away from the camera and side-to-side, per the camerawork).
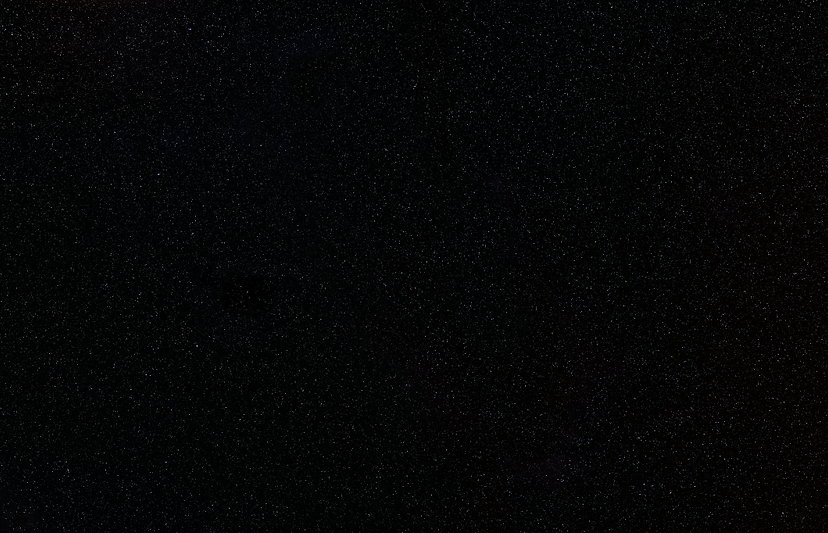
All plates from camera POV, resulting image nearly indistinguishable from original source:
WRAP-UP:
So how did we do it? In short: a great team, painstakingly painting with pixels!
Image searching, data acquisition, processing/compositing, fact-checking, problem-solving, digital painting, and a lot of patience and time.
This sequence was only possible with the talented & dedicated volunteers who worked tirelessly over months and years and gave so much of their days and late nights to complete it.
So, an immense thank you to
So, an immense thank you to
Primary Image Processors:
-Alexis Tranchandon
-Judy Schmidt
-Bryan Simpson
-Tim Shamblin
Supporting Image Processors:
-Robert Broussard
-Richard Green
-Judy Schmidt
-Bryan Simpson
-Tim Shamblin
Supporting Image Processors:
-Robert Broussard
-Richard Green
Image Analysis & Consulting Astronomer:
-Prof. Steve Danford, PhD & his students at the University of North Carolina, Greensboro
Thanks for reading! See you In Saturn's Rings and enjoy the film!
Jason Harwell
Segment Producer, Image Processor & Hubble Sequence Team Lead
Segment Producer, Image Processor & Hubble Sequence Team Lead